How to Enable Modern Communication Site Features on a Classic SharePoint Site
If you've been wanting to migrate from a classic team site to a modern communication site, we can show you how!
Intro
Modern communication sites are a very effective way of sharing and distributing content to your organization in a multitude of ways. SharePoint modernization has made many leaps and bounds in the last few years, but some users are stuck on their classic team sites that were the default before 2019. While some folks are scratching their heads trying to figure out how to swap new modern sites and migrate content, we realized that Microsoft already offers a way to convert your classic sites into modern communication sites rather easily. The best part is this can be done without impacting any of your existing content or permissions, which is certainly something you’d have to recreate in a migration process to new modern sites.
What This is For
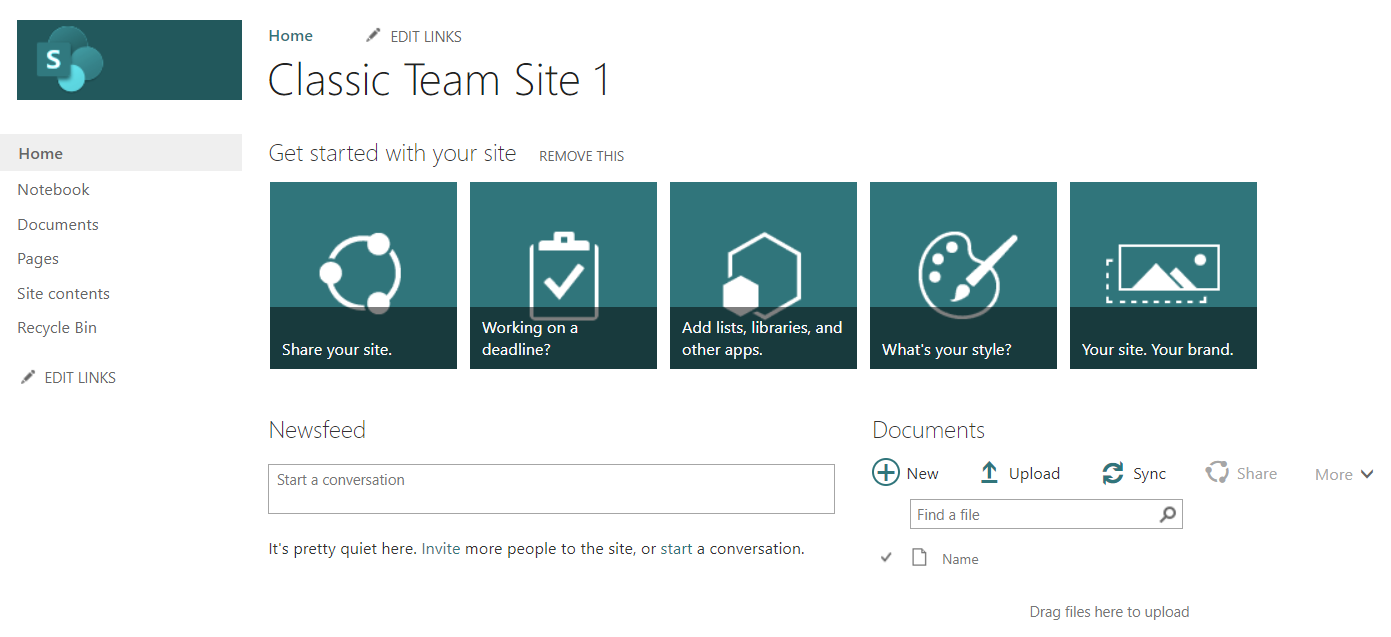
If your SharePoint environment was set up before the spring of 2019, it’s likely that your top-level site was created as a classic team site. Since communication sites are now the root sites for organizations, many users may be wondering what their options are to modernize their classic top-level sites. While there is a variety of ways to address this issue such as swapping out a different site collection as the root or enabling the modern site pages library experience in the team site, we find that enabling the entire communication site experience on the classic site is one of the better alternatives.
Modernizing the classic team site experience does a lot more than just giving you modern pages to work with. It gives site users the ability to create news, reports, updates, and everything else you can do on communication sites. Enabling these features is something that the site owner can do rather than reaching out to a SharePoint administrator at the organization to move sites around and removes the ache of having to migrate content from the classic site to a newly created modern one.


Requirements
There are a few criteria that need to be met in order to enable the communication experience on a classic team site.
- The root site you want to update has to be a classic team site that isn’t connected to a Microsoft 365 group. In technical terms, the site template must be of STS #0, but if you’re unsure about the site status you should check with IT at your organization.
- This operation is intended for the top-level site in your site collections only. You can’t enable communication features on a subsite.
- The user who will enable the features via PowerShell needs to have at least full owner permission on the site.
- By default, the classic team site should have the following features turned off, but it’s good to check and deactivate them before you begin:
- SharePoint Server Publishing Infrastructure (Site Collection feature)
- SharePoint Server Publishing (Site feature)
- You’ll also need the latest version of SharePoint PnP Online Management Shell to connect to your site to run the cmdlets that activate the features.
Use PowerShell to Enable
If you have PowerShell installed and you’ve used it before then the commands are relatively straightforward. It’s important to note that you must run the application as an administrator of your machine to connect properly to your site.
Install Sharepoint PnP PowerShell Online in the SharePoint Online Management Shell
After opening the SharePoint Online Management Shell, the first command installs the module to run the SharePoint PnP shell within the management shell. If you already have this installed, then you can skip this first step.

Connect to Your Site with PnP Online
Once you have the PnP module installed, you just need to connect to your classic team site and authenticate into the environment from PowerShell using the cmdlet here:
`Connect-PnPOnline -Url "<SiteURL>" -useweblogin`
We use -UseWebLogin to force a dialog and enter our credentials because if you have multifactor authentication enabled on your SharePoint environment PowerShell may not prompt you for them otherwise.
Enable the Communication Site Features on Your Site
If no errors have appeared in the dialog, then proceed to enable the communication site experience using the last cmdlet script:
Enable-PnPCommSite
Like before, no errors mean that the cmdlet is running on the team site and you should start to see updates to it immediately.

Verification and Suggested Steps
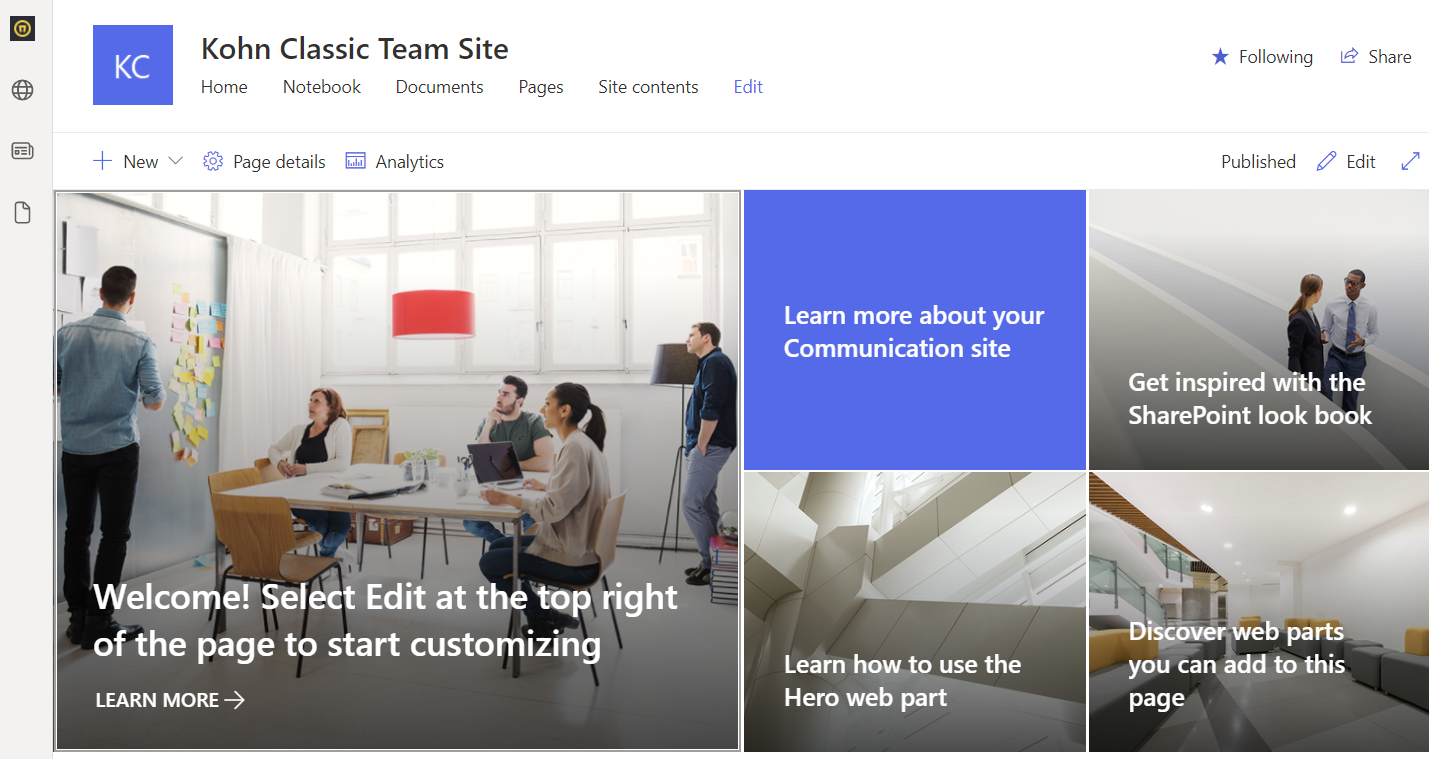
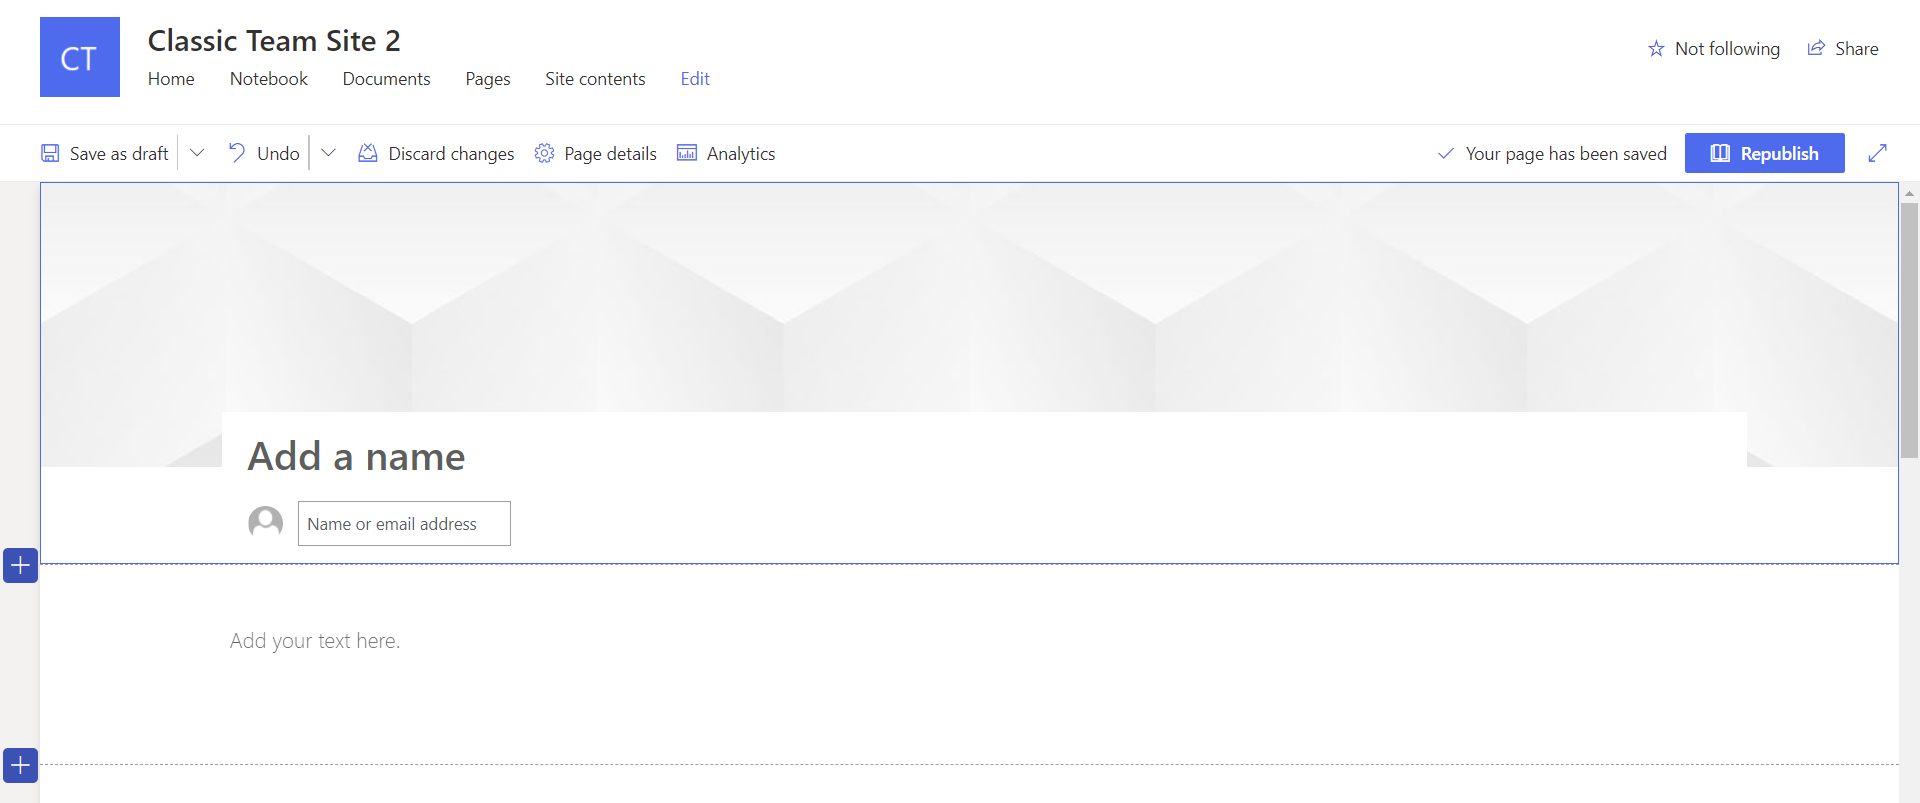
Once you’ve activated the communication features on your site, it may take a few minutes for the site to update. The first thing to notice is that a modern page is created automatically in the site pages library and reset as the homepage for the whole site. If the original homepage of the site is actively being used by your organization, then it’s probably best to reset that original page as the home until you recreate the content in the modern one. You can navigate to the site pages library to verify that an additional homepage was created as well if the homepage hasn’t been updated yet. If your site was using the Page content type before, that will be updated to the modern Site Page content type and you’ll also get minor versioning for the site page library.

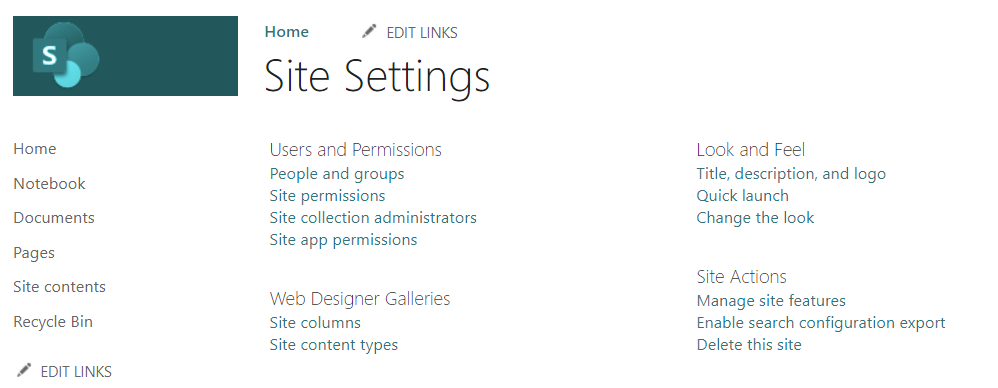
You’ll also notice that the navigation has moved from the left-hand side to the top of the page horizontally and the pages are now full width. Instead of having to go into the term store in the site settings to update the navigation, you can edit the site navigation directly from the homepage like with regular modern sites. The classic navigation is effectively hidden but can still be seen on some backend pages like the site settings page.


Aside from the changes mentioned above, the communication features don’t impact too much else on your site. No site permissions are impacted, none of the lists and library experiences are changed, and no other content types are affected (with the exception of the page library taking on-site pages). It’s also important to consider that if your classic site had any subsites within it, nothing has been changed within them as well.
If you’re just looking to further modernize your classic team site and take advantage of the communication features on your team site, then you’re ready to continue collaborating with your teammates. If you expect to have a lot of traffic on this site once you’ve enabled these features and opened it up for the rest of the organization, then it’s a good idea to review the site in its entirety and follow the portal launch guidelines (linked in the supplemental links section below) to consider what other updates you need to make the launch effective.
Wrap-up
This update process is performed site-by-site. So it’s a good idea to try enabling it on one and work through the changes before moving on to others that you may want to also apply the features to. Leveraging PowerShell to enable these features on your already existing team site can save you a lot of time and pain from having to recreate a modern site and migrate all of your existing content into it. It’s important to verify that the site you want to update meets all of the specifications before getting into PowerShell to enable the features, but it’s just as critical to address the new changes on the site and communicate to your users what those changes mean for them.
Key Notes
- Run PnP PowerShell as administrator
- Familiarize yourself with the PowerShell syntax and cmdlets if you plan to repeat the process for more sites
- Reset the homepage back to classic if the site is being used before you’re ready to publish the modern homepage.
- Communicate to the team site users what the changes are on the site when communication features are enabled and how to leverage them.
Supplemental Links


Is Team Communication Holding You Back?
Find Out in Just 2 Minutes.
Take our quick scorecard to uncover communication gaps and hidden barriers within your team.


